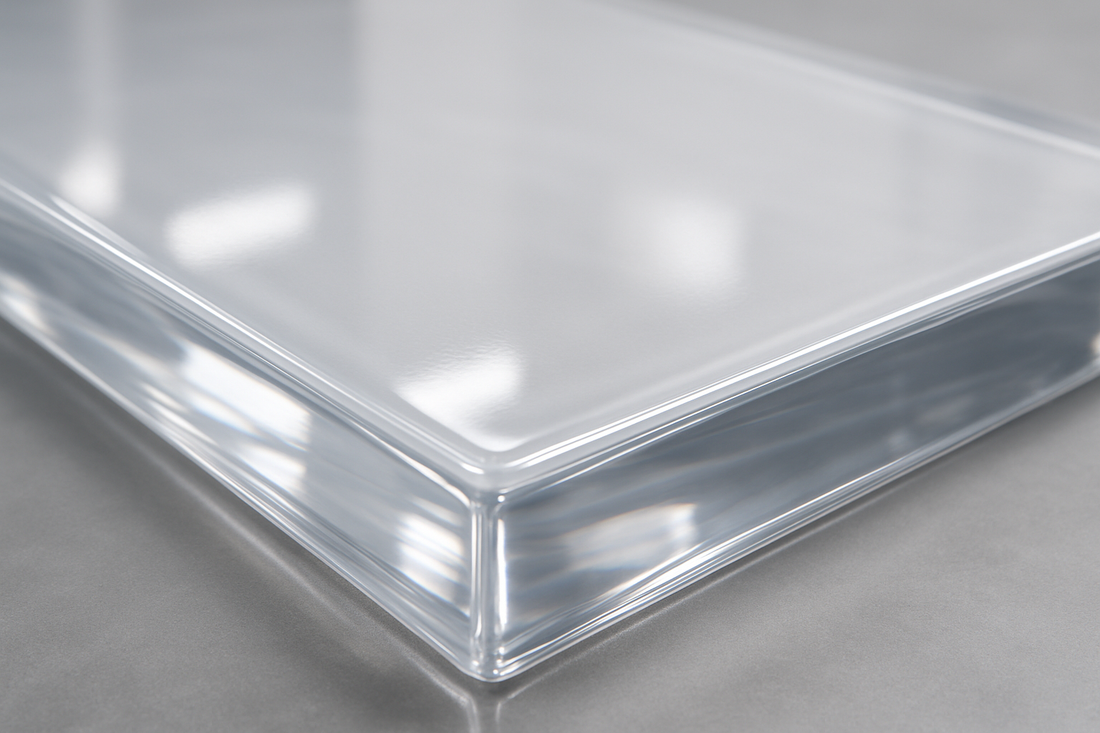
The Science of Epoxy Resin Curing
For anyone working with epoxy resin, achieving a flawless, durable finish hinges on understanding the curing process. It's more than just mixing two parts; it's a chemical reaction that, when managed correctly, transforms a liquid into a robust, clear solid. This guide will delve into the critical factors influencing resin curing, helping you avoid common pitfalls and produce professional-quality results every time.
Understanding the science behind the cure is paramount. Epoxy resin consists of two primary components: the resin (part A) and the hardener (part B). When these are mixed in the correct ratio, a polymerization reaction begins. This exothermic reaction generates heat, which accelerates the curing process. The goal is to achieve a complete cure, where all the molecules have reacted, resulting in maximum hardness, clarity, and chemical resistance.
Optimal Environmental Conditions for Curing
The environment plays a pivotal role in how well your craft resin project cures. Temperature and humidity are the two most significant factors. Ideally, epoxy resin should cure in a stable environment with a temperature between 70-75°F (21-24°C). Temperatures too low can significantly slow down the cure, leading to a soft, tacky finish, while excessively high temperatures can accelerate it too rapidly, causing bubbling, cracking, or discoloration.
Humidity can also be a silent enemy. High humidity can lead to a cloudy, hazy, or blush-like appearance on the surface of your cured resin. It's best to work in an environment with humidity levels below 70%. If you're working in a humid climate, consider using a dehumidifier in your workspace. Proper ventilation is also crucial, not just for safety but to help dissipate any fumes that might affect the curing process.
Mixing Ratios and Techniques
The foundation of a successful cure lies in precise measurement and thorough mixing. Epoxy resins are formulated with specific mixing ratios (e.g., 1:1, 2:1 by volume or weight). Deviating from these ratios, even slightly, can result in an incomplete cure, leaving your resin sticky, soft, or prone to yellowing. Always use accurate measuring tools, such as digital scales for weight-based ratios or graduated mixing cups for volume-based ones.
Equally important is the mixing technique. Scrape the sides and bottom of your mixing container repeatedly to ensure all resin and hardener are fully incorporated. Inadequate mixing is a leading cause of soft spots in cured resin. Mix slowly and deliberately to avoid introducing excessive air bubbles, which can become trapped in the curing resin. For more intricate details in your projects, you might also find our guide on Advanced Techniques for Epoxy Resin Art helpful.
Common Curing Issues and Troubleshooting
Even with careful planning, issues can arise during the curing process. Here are some common problems and their solutions:
- Tacky or Sticky Surface: This usually indicates incomplete mixing or incorrect ratio. If the stickiness is minor, exposing it to gentle heat (like a heat gun passed quickly over the surface) might help, but often, the only true fix is to sand and pour a fresh, correctly mixed layer.
- Soft Spots: A clear sign of unmixed resin or hardener, often due to inadequate scraping of the container during mixing. There's no fix for a soft spot; you'll need to sand it out and re-pour.
- Bubbles: Trapped air is common. Use a heat gun or butane torch passed quickly over the surface after pouring to release bubbles. Mixing slowly, warming the resin slightly before mixing, and pouring thin layers can also help.
- Cloudiness or Haze: Often caused by humidity or extreme temperature fluctuations during cure. Ensure your environment is dry and stable.
- Uneven Cure/Warping: Can be due to uneven heating or cooling, or pouring too thick a layer for the specific resin's recommendations. Follow layer thickness guidelines and maintain consistent room temperature.
Post-Cure Care and Finishing
Once your epoxy resin project has fully cured, typically after 24-72 hours depending on the product and environment, it's ready for finishing. While the surface may feel hard to the touch, many resins continue to gain full hardness and chemical resistance over the next few days to a week. Avoid placing heavy objects on fresh cures during this time.
For a truly professional finish, light sanding and polishing may be required, especially if you have minor imperfections. Start with a higher grit sandpaper (e.g., 400-600) and progressively move to finer grits (up to 3000) before using a plastic polish or buffing compound to achieve a high-gloss, mirror-like surface. This final step can transform a good project into a great one.
Mastering the art of epoxy resin curing is an iterative process. By paying close attention to environmental conditions, precise mixing, and understanding troubleshooting techniques, you can consistently achieve beautiful, durable results in all your craft resin endeavors. The effort put into the curing phase directly translates to the quality and longevity of your finished piece.
What are your thoughts? Leave a comment below!

