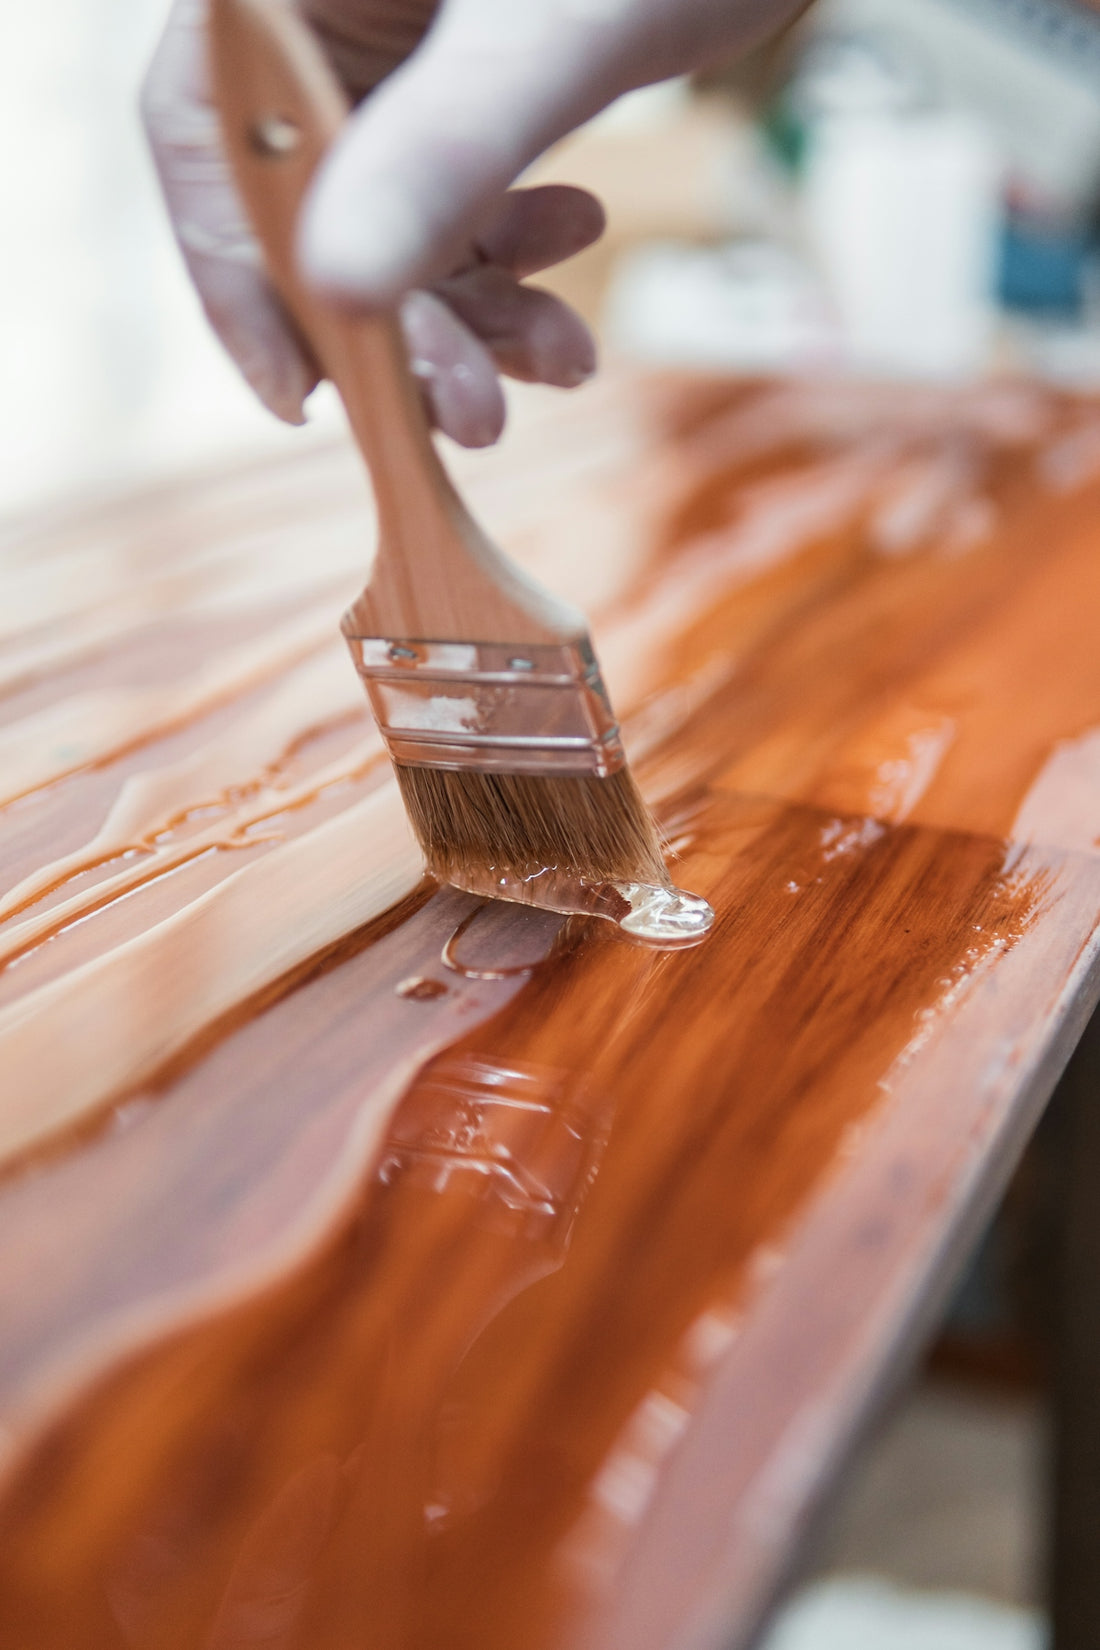
Whether you're a crafty individual looking to create stunning art pieces or a DIY enthusiast interested in making durable and shiny surfaces, epoxy resin is a fantastic medium to work with. In this comprehensive guide, we'll walk you through everything you need to know as a beginner working with epoxy resin to accomplish your creative projects successfully.
What Is Epoxy Resin?
Epoxy resin is a versatile polymer used for crafting, coating, and adhesive purposes. It is popular in creating hard, scratch-resistant surfaces and adding beautiful, glossy finishes to various objects. Epoxy resin comes in two parts: the resin itself and a hardener. When combined, they initiate a chemical reaction that results in a solid, plastic-like material.
Getting Started with Epoxy Resin: Materials You Will Need
Before diving into your first project, gather the following essential materials:
- Epoxy Resin Kit: Opt for a quality product like the RESIN4DECOR 1:1 Non-Yellowing Clear Epoxy Resin (24h Curing Time), known for its clarity and durability.
- Disposable Mixing Cups: Essential for measuring and mixing the resin and hardener components accurately.
- Stir Sticks: Use these for blending the resin thoroughly.
- Safety Gear: Hand gloves and a mask to protect against fumes and spills.
- Heat Source: A heat gun or torch to remove bubbles that may form in the resin.
Step-by-Step Guide to Working with Epoxy Resin
1. Prepare Your Workspace
Ensure your working area is clean, level, and well-ventilated. It's crucial to cover your table or countertop with plastic sheets or newspaper to prevent resin spills from damaging surfaces.
2. Measure and Mix
Using the disposable mixing cups, measure equal parts of resin and hardener. For best results, follow a 1:1 ratio as prescribed by the manufacturer. Thoroughly mix the two components with a stir stick until clear; this will usually take about 3-5 minutes.
3. Pour and Spread
Pour the mixture over your intended project surface. You can use a spreader tool to distribute the resin evenly. If you're creating jewelry or smaller objects, you may need to pour the resin into molds.
4. Eliminate Bubbles
Air bubbles naturally form during the mixing process. To remove them, lightly run a heat gun or torch over the resinat a safe distance. Be careful not to overheat the resin, as this can lead to imperfections.
5. Curing
Allow the resin to cure for the duration specified by your product—such as the 24 hours recommended for RESIN4DECOR 1:1 Non-Yellowing Clear Epoxy Resin. During this time, ensure the piece remains undisturbed to avoid causing dents or marks.
6. Final Touches
Once fully cured, you can sand and polish the resin surface for smoothness or embellish it with additional details as desired.
Troubleshooting Common Issues
- Sticky Resin: This occurs if the resin and hardener were not measured accurately or mixed well. Make sure to follow the product instructions closely.
- Cloudy Finish: Ensure there is no high humidity in the curing location, as moisture can affect clarity. Verify that you eliminated all bubbles with heat.
Conclusion
Working with epoxy resin opens up endless possibilities for creativity and practicality. By following the steps above and choosing quality products like the RESIN4DECOR epoxies, you can create stunning art pieces and surfaces that are bound to impress. Set up your project with care, and enjoy the rewarding experience of creating with this versatile medium.
Embark on your epoxy resin journey today by visiting RESIN4DECOR for all your resin needs!

