
As the world of DIY crafts continues to flourish, epoxy resin has emerged as a versatile and creative tool for both beginners and seasoned enthusiasts. This magical material not only provides a crystal-clear finish to your creations but also empowers you to design unique and durable pieces. Whether you're new to the world of resin or looking to hone your skills, this guide will help you master essential epoxy resin techniques for your next stunning project.
The Basics of Epoxy Resin
Epoxy resin is a two-part system consisting of a resin and a hardener. When these components are mixed together, they cure into a hard, durable, and glossy finish. This property makes epoxy resin an ideal choice for a variety of applications, from jewelry and coasters to furniture and artistic displays.
Choosing the Right Resin
Before diving into your project, selecting the right epoxy resin is crucial. For most DIY projects, a clear, non-yellowing epoxy resin is recommended to ensure a long-lasting finish. For this purpose, consider the RESIN4DECOR 1:1 Non-Yellowing Clear Epoxy Resin (24h Curing Time). This product offers excellent clarity and a 24-hour curing time, making it perfect for various artistic endeavors.
Essential Techniques for Working with Epoxy Resin
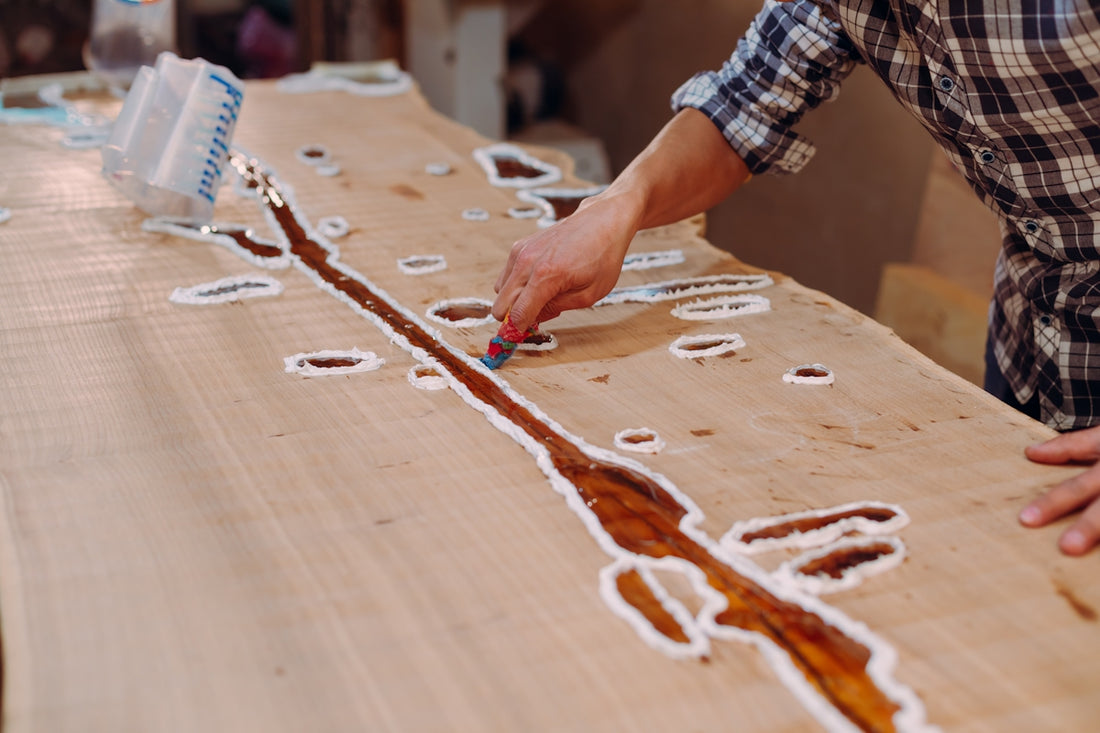
1. Surface Preparation
The key to a flawless resin finish starts with proper surface preparation. Ensure that your workspace is clean, dust-free, and well-ventilated. Additionally, cover your work surface with parchment paper or a silicone mat to prevent sticking and spills.
2. Mixing the Resin
Accurate measuring and thorough mixing are vital to the success of your project. Follow the manufacturer's instructions for the correct resin-to-hardener ratio, typically a 1:1 mix for many products. Stir the mixture slowly and consistently for at least 3-5 minutes to ensure even distribution of the components.
3. Pouring and Spreading the Resin
Once mixed, it's time to pour the resin onto your surface. Pour the resin in the center and allow it to naturally spread outwards. Use a clean, flat-edged tool to help distribute the resin and achieve an even coat. Remember to work quickly, as resin will start to cure shortly after mixing.
4. Removing Air Bubbles
Air bubbles are a common occurrence in resin projects but can be easily removed. Gently exhale on the surface or lightly use a heat gun or torch to eliminate bubbles. Be careful not to overheat, as this can cause burning or distortion in the resin.
5. Curing and Finishing Touches
Once satisfied with the appearance of your project, allow the resin to cure undisturbed according to the recommended time frame. For best results, use a product like RESIN4DECOR 1:1 Non-Yellowing Clear Epoxy Resin (24h Curing Time), which provides excellent clarity and durability. After curing, you can sand and polish the resin surface for an ultra-smooth finish.
Expanding Your Resin Horizons
With these techniques mastered, the possibilities with epoxy resin are endless. Whether you're crafting personalized gifts, enhancing home decor, or exploring artistic masterpieces, epoxy resin is your key to stunning, professional-quality results.
Ready to embark on your resin journey? Explore more tools and products to assist with your DIY projects at Resin4Decor.
Happy Crafting!